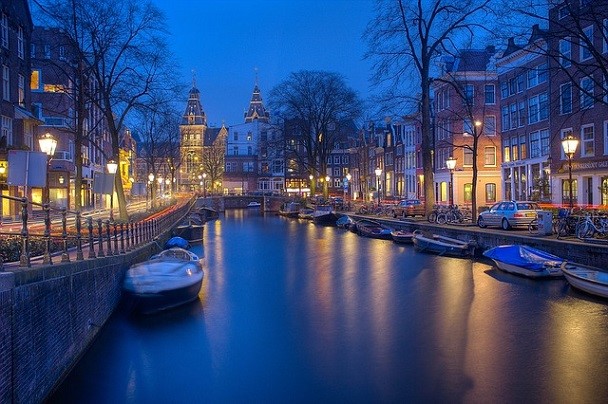
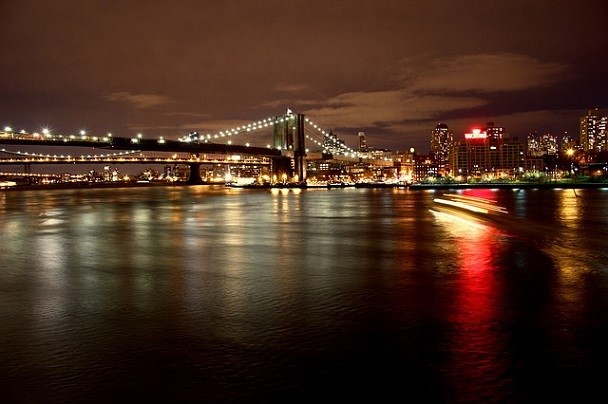
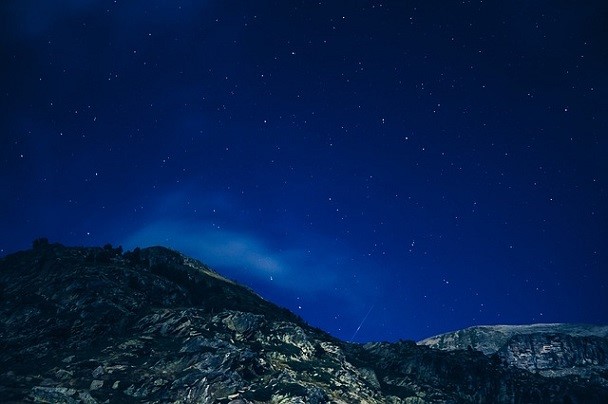
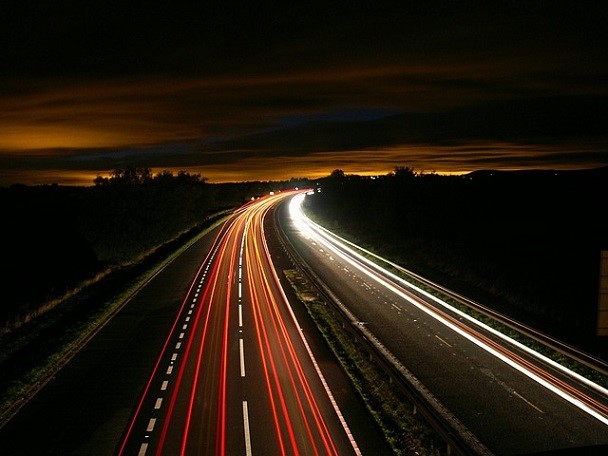
In the realm of photography there is arguably anything more important than light. So why would anyone go through the hassle (and boy, can it be a hassle) of taking pictures at night? Well, obviously because no sun ray could ever be as romantic as the moonlight… or starlight.
All that romance aside, actually taking a photograph in the dark of night necessitates skill- but don’t worry, night photography is mostly about preparation and prepared you will be, after reading through our tips.

Steady Does It
The single most important factor in long-exposure photography is stabilization. You must ensure that your camera does not shake- this small detail has ruined many an otherwise amazing photograph.
While a tripod is not absolutely necessary to create stabilization, you’ll find that a good one will really give you some flexibility- especially if you like shooting natural phenomena- like the moon and stars. For a rainy shot of the city at midnight, on the other hand, there are likely to be plenty of ledges around that will make excellent mock tripods.
How-to Hands Free
Again, if the camera shakes, the shot is ruined. In order to minimize any possibility of moving the camera, many photographers opt for a remote shutter release. This is basically insurance because it means that you won’t cause any accidents by having to touch the camera.
This wouldn’t really be “tips and tricks” if I didn’t tell you how to not touch your camera without the use of a remote shutter release, so allow me to proceed: Use the self-timer.

Kill Overzealous Lights
If your night-owl photography activities revolve around chaotic city lights, for the sake of a good picture, use a lens hood.
While you’re out to shoot the illumination, street lights are notorious for photo bombing and completely outshining ( not in a good way) your primary subject.
Go Manual
Night photography is all about control, so use your camera’s manual setting. The aperture and shutter speed must be completely monitored in order to take a sharp image- otherwise, you’ll end up with a blurry smear of light or a void of darkness.
Watch Your Shutter Speed
Think of the long exposure technique as a sponge- a sponge that absorbs light. The longer the exposure, the more light it absorbs. Using this logic, it makes sense to use your shutter speed according to how much light is available.
City escapes and sunset settings don’t need such long exposure, a few seconds are enough to capture a clear photograph. For darker places, longer shutter speeds are required.
For pitch dark nights, make use of your camera’s bulb mode. This setting gives you control of when the exposure begins and ends- just make sure to time yourself.

Keep the ISO on the Low
Since you are shooting in the dark, you can work with higher ISO’s than your daytime use. That being said, after a good amount of tinkering, try to settle on the lowest range you can- this will eliminate any overbearing noise that could blur your image.
Guide the Light
Needless to say, cameras have a hard time focusing on a subject they can’t detect. At nighttime, focusing is almost impossible, and if light sources are lacking, you are going to end up with scraps.
But you’re in control, remember? Use a hand-held beam of light (such as a flashlight) to point to where you want your focus to converge and rejoice as your camera finds its way.
Clean Your Sensor
Most professional cameras have a sensor-cleaning g function and most owners of professional cameras forget to use it regularly. However, this newfound night-time photography is quickly going to get you back on track.
Since dim lights call for shooting at small apertures, that tiny amount of dust and spots are going to make a guest appearance in your final shot. In order to save yourself the tedious task of removing them via Photoshop, make sure to clean your sensor before your shoot session.
The Motion of the Ocean
… well, the motion of start trails and streetcars.
Long exposure photography is used to capture speed. The speed of whatever you want, given you use the tips we gave you to pull it off. But you’ll have to do some of the creative work yourself. Don’t just point your camera toward something lit up and pretty- try to imagine how the motion will translate onto film and use it to guide your composition. This is the difference between a technical long exposure night shot and a phenomenal long exposure night shot.

Source: Digitalphotoshack.com


